Basics II: R Markdown
Steven Luke
2026-01-02
What is R Markdown?
https://rmarkdown.rstudio.com/
“R Markdown provides an unified authoring framework for data science, combining your code, its results, and your prose commentary. R Markdown documents are fully reproducible and support dozens of output formats, like PDFs, Word files, slideshows, and more.” - R for Data Science
R Markdown lets you organize your work, keep it all in one place, avoid confusion, and save time.
Scientists have been keeping “science journals” for centuries. R Markdown is your tool for keeping your own ‘research notes’, documenting your learning, attempts, failures, and successes.

Like all good mad scientists do.(Image from https://www.bershad.com/pgg/frank-front.gif)
Video Tutorial: Workflow
Workflow
Before we talk about using markdown, I have some wisdom to share with you, which I earned through suffering and tears; When you are beginning a new project (i.e. a research study, a class), ALWAYS do the following:
- Create a folder on your computer for the project. If you have a cloud storage system like Box or DropBox, use that - it makes your project highly portable.
- Give the folder a good, descriptive name. Project Folder is BAD, ADHD Research Study is better.
- Put any data and documents related to the project in this folder.
- Open RStudio.
- File -> New Project -> Existing Folder -> Navigate to the folder you just created and select it.
- Create an R Markdown Notebook for the project
- As you generate other files (figures, documents) for your project, keep them in this same directory.
- Follow the above steps, up to Create R Markdown Notebook (since you don’t know how to do that yet). TRUST ME, you want to get into this habit. You will regret it if you don’t.
Creating a New R Markdown Document
File -> New File -> R Notebook
- Make your own R Markdown Document.
- Save it (File -> Save) as “Checklist_2.Rmd”. Notice the underscore - R doesn’t like spaced in Markdown file names.
Video Tutorial: R Markdown
The Parts of an R Markdown Notebook
An R markdown notebook contains 3 different components:
- A Header
- Blocks of text
- Chunks of R Code
Let’s look at each one of these parts in turn.
YAML Header
The YAML header appears at the top of the document. This is the first part you should edit when you create a document.
In it’s most basic form, the header looks something like this:
---
author: "Steven Luke"
title: "R Markdown Example"
subtitle: "Psych 312R: Intro to R"
date: "`r Sys.Date()`" # Uses the current data when you generate the document
---Output
What kind of document do you want to create? Basic options include:
- HTML (Web Page)
- Word
# output:
# html_notebook:
# toc: true
# html_document: # If you want to be able to export as HTML
# toc: true
# pdf_document: # If you want to be able to export as PDF
# toc: true
# word_document: # If you want to be able to export as a Word Doc
# toc: trueThe toc: true option adds a table of contents to the
document. If you don’t want that, change this to false.
There are other formatting options you can add to the document after
toc: true, such as:
toc_float: true- should the table of contents stay on screen as you scroll (for HTML only)number_sections: true- should the different sections be numbered?code_folding: show- should there be a button to hide all the code? (orcode folding: hidestarts with the code hidden, but offers a button to make it appear)theme: paper- change how the document looks by applying a theme. There are several built-in themes besides paper: https://www.datadreaming.org/posts/2018-04-11-r-markdown-theme-gallery/2018-04-11-r-markdown-theme-gallery.html
And of course there are more formatting options that exist if you want to explore them.
We’ll discuss this in more detail below.
In your R Markdown document, create a YAML header that:
- Is properly defined by dashes ( - )
- includes an author name
- includes a title
- includes a date
- has proper output settings to knit to pdf
- has proper output settings to knit to HTML
- has proper output settings to enable a Preview of the document.
Double check your header for errors - the YAML header is REALLY sensitive to both typos and spacing.
Text
With R Markdown, you can put your text right into the .rmd document, where it peacefully co-exists with your code. You can create a full document with sections, sub-sections, paragraphs, bulleted lists, etc. You can also include links, tables, images, even embedded videos!
Purpose of Text
Regardless of the purpose of your project, you want to surround your code with text. The way you use text will depend on your goals:
- The text can contain extensive comments directed at yourself or other potential users, to clarify the purpose of a chunk of code and contain your notes about the results of that code
- The text can be directed at the audience; the people who are interested in the results of your code, not the code itself.
- You can write full papers and presentations directly in R!
- Give at least two reasons why you might want text around your R code.
Text Headers
To create a header use a hashtag (#). More hashtags changes the header level.
# Level 1 Header## Level 2 Header### Level 3 Header#### Level 4 Header##### Level 5 Header
Basics of Text Formatting
Some basics of text formatting:
Italics –
*italic*or_italic_Bold –
**bold**or__bold__Superscript –
^Super^scriptSubscript –
~Sub~script
- Type a regular paragraph
- Demonstrate how to make Text Headers at 5 different levels
- Show how to put text in italics
- Show how to bold text.
- Show how to create a Superscript, like X2
- Show how to create a Subscript, like SSbetween
Lists
Make sure to have an empty line before the start of any list.
Bulleted Lists
Use *. Indent for sub-items.
- Item 1
- Item 2
- Sub-item 2-1
* Item 1
* Item 2
* Sub-item 2-1Numbered List
Use 1. Sub-items don’t work here.
- Item 1
- Item 2
1. Item 1
1. Item 2Note that you don’t have to increment the number - R does this for you!
- Make a bulleted list with at least 3 items.
- Make a numbered list with at least 3 items.
Links and Images
http://example.com -
<http://example.com>
Link to Nowhere -
[Link to Nowhere](http://example.com)


- Insert a hyperlink into your document that shows the URL, like this one: http://example.com.
- Insert a hyperlink into your document that is just text, like this one: Link to Nowhere
- (Bonus) Adding images to a document is easy, UNLESS you’re knitting to PDF. Images in PDF often prevent the PDF from knitting properly, generating an error. Can YOU figure out how to do put an image into your document that shows up when you knit to PDF?
Tables
This is a table:
| First Header | Second Header |
|---|---|
| Content Cell | Content Cell |
| Content Cell | Content Cell |
To make this table, do this:
# | First Header | Second Header |
# | :----------: | ------------- |
# | Content Cell | Content Cell |
# | Content Cell | Content Cell |Some things to notice:
- :-: centers the column contents
- — left-justifies the contents
- –: right-justifies the contents
- Create a table with 2 columns, a header row, and 2 rows. like the one below:
| Left | Center | Right |
|---|---|---|
| 1 | 2 | 3 |
| 4 | 5 | 6 |
Code
You can (and should) include R code in your document in 2 different ways:
- Code Chunks - larger pieces of code
- In-line code - small snippets of code that fit right in as part of your text
Code Chunks
To add a code chunk, you can
- Use the Keyboard Shortcut: CTRL + ALT + I
- Use the menus: Code -> Insert Chunk
- Use the add code chunk button at the top of your R Markdown document.
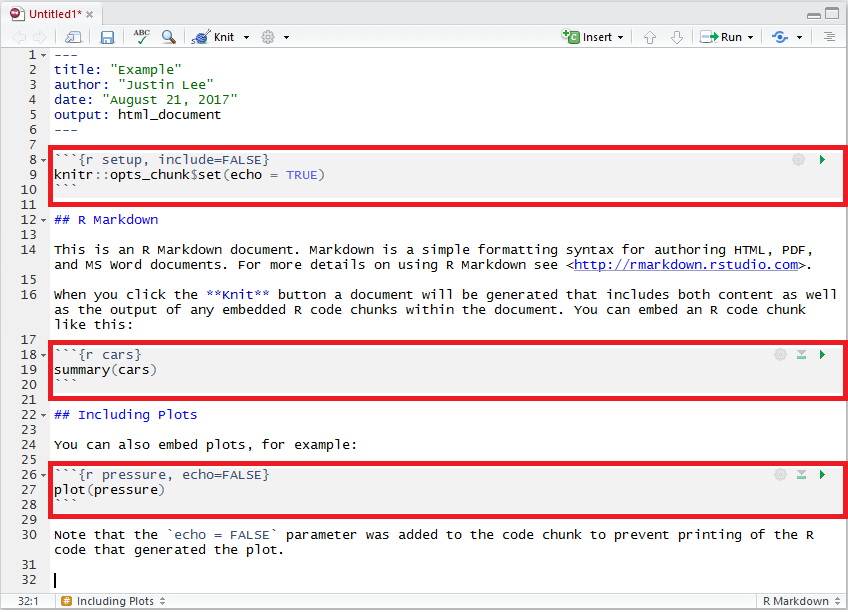
The new code chunk should look something like this (highlighted in red):

Image from https://smac-group.github.io/ds/images/rmd_code_chunk.png
Notice some things about a code chunk.
- It starts and ends with ```
- It has a header{r}. You should give the chunk a UNIQUE name here, like {r code name}
- On the far right are 3 ‘buttons’
- The gear opens up a tab with some options for the chunk
- The downward arrow runs all code ABOVE the current chunk
- The rightward arrow runs all code INSIDE the current chunk
- Try out all 3 different ways to create a new code chunk.
- Explain the function of each button at the top of a code chunk.
The Setup Chunk
At the start of each R Markdown document, there should be a unique chunk called setup (see image above). Code in this chunk will always run when any other code in the document runs. That makes this a great place to install and load packages! You can also set global options for all code chunks in the document here. Below is an example setup chunk you could use:
#````{r setup}
#knitr::opts_chunk$set( # Sets options for all code chunks in document
# echo = TRUE, # All code chunks should be visible
# message = FALSE, # Messages should not appear in output
# warning = FALSE # Warnings should not appear in output
#)
#library(tidyverse) # Automatically loads the tidyverse package
#```Note that you don’t have to type knitr:::opts_chunk...
and all that. Just use the gear on the right of the setup chunk to
select the options you want.
- Describe the function of a ‘setup chunk’.
- Show that you can create a proper setup chunk that:
- loads the tidyverse package.
- sets warnings and messages to OFF for all other chunks
In-Line Code (Note: This Section is Optional)
Sometimes you want code to appear in line with your text, like so:
My opponent is an extremist who would have you believe that 2 + 2 is {insert r code here}.
In-line code looks like this: `r 2 + 2`
So the whole line would look like this:
My opponent is an extremist who would have you believe that 2 + 2 is `r 2 + 2`.
And the output would look like this:
My opponent is an extremist who would have you believe that 2 + 2 is 4.
Why use in-line code?
In-line code is useful when you:
- Don’t want to do math
- Want to reference a variable or vector in the text (more on these
later)
- i.e. my favorite student is
`r studentlist[6]`.
- i.e. my favorite student is
- Want to use a function to get some value
- i.e. the average score on the test was
`r mean(testscores)`.
- i.e. the average score on the test was
Using in-line code to make tables
One excellent way to use in-line code is in tables:
testscores <- c(84, 56) # Make a vector with 2 scores
names(testscores) <- c("Tim", "Wilhelm") # Give each score a name of a student| Student | Score |
|---|---|
`r names(testscores)[1]` |
`r testscores[[1]]` |
`r names(testscores)[2]` |
`r testscores[[2]]` |
This produces:
| Student | Score |
|---|---|
| Tim | 84 |
| Wilhelm | 56 |
This lets me make a table without having to remember all the details. And if the students’ names and scores change, I can use the same table!
Seems a bit intimidating? Don’t worry, you’ll get it!
Using in-line code in text
Another way to use in-line code is in text, like so:
I thought that
`r names(testscores)[2]`was smarter than`r names(testscores)[1]`, but`r names(testscores)[1]`got a`r testscores[[1]]`on the test and`r names(testscores)[2]`only got a`r testscores[[2]]`!
This produces the following:
I thought that Wilhelm was smarter than Tim, but Tim got a 84 on the test and Wilhelm only got a 56!
This is useful for making reusable APA-style paragraphs that contain the results of your statistical analyses - without having to type out those results. R fills it in for you!
- (Bonus) Add some inline code to your document that uses the randomNames function from the randomNames package. The text should be something like:
- I really think that Tahjlon Jones should surrender to the police.
Don’t forget that you need to install and load the randomNames package. Use the setup chunk for this!
Video Tutorial: Knitting
More on Document Formats
HTML
Here is a Markdown header formatted to produce an HTML document:
---
author: "Steven Luke"
title: "R Markdown Example"
subtitle: "Psych 312R: Intro to R"
date: "`r Sys.Date()`"
output:
html_document:
toc: yes #include a table of contents
---Note the indentation and the colons.
Many more formatting options can be found here: https://bookdown.org/yihui/rmarkdown/html-document.html
- Knit your R Markdown document to HTML
Here is a Markdown header formatted to produce a PDF document:
---
author: "Steven Luke"
title: "R Markdown Example"
subtitle: "Psych 312R: Intro to R"
date: "`r Sys.Date()`"
output:
pdf_document:
toc: yes #include a table of contents
# other formatting options go here
---Note the indentation and the colons used to ‘nest’ options
Many more formatting options can be found here: https://bookdown.org/yihui/rmarkdown/pdf-document.html
On the peculiar difficulties of knitting to PDF
I have found that making PDFs is the most failure-prone. Two bits of advice:
- You’ll need to run this command before you can successfully knit to
PDF:
tinytex::install_tinytex() - If it doesn’t work, R will give you a wall of red error text. Maybe one line of that will be informative. Slowly sift through it until you find what’s wrong, then correct that.
- Knit your R Markdown document to PDF
Word
Here is a Markdown header formatted to produce a word document:
---
author: "Steven Luke"
title: "R Markdown Example"
subtitle: "Psych 312R: Intro to R"
date: "`r Sys.Date()`"
output:
word_document:
toc: yes #include a table of contents
reference_docx: my-styles.docx # This coppies the formatting from an existing word document called 'my-styles.docx'
# other formatting options go here
---Note the indentation and the colons used to ‘nest’ options
Also note the use of reference_docx: my-styles.docx.
This is a handy way to copy the styles from an existing word document to
the document you are creating. So, if you already have a word document
with APA-style headers, tables, etc., you can use that to create
more.
(Bonus) Make an APA-style Word document
- Knit your markdown document to a word document that is based on a word document template (note: just show what the YAML header would look like if you had a template called “template.docx” - you don’t actually have to knit it or make a real template).
Powerpoint
Here is a Markdown header formatted to produce a word document:
---
author: "Steven Luke"
title: "R Markdown Example"
subtitle: "Psych 312R: Intro to R"
date: "`r Sys.Date()`"
output:
powerpoint_presentation:
toc: no #include a table of contents
reference_doc: my-styles.pptx
slide_level: 2
# other formatting options go here
---Note the indentation and the colons used to ‘nest’ options
Also note the use of reference_doc: my-styles.pptx. This
is a handy way to copy the styles and layout from an existing powerpoint
to the presentation you are creating.
Also note slide_level: 2. This breaks up the text into
slides at the level 2 headers. You can change this to be higher or
lower. If you want to insert a slide break elsewhere, use
*** in your document.
(Bonus) Make a Powerpoint presentation
- Knit your a document to a Powerpoint. How do you separate it into different slides?
Advanced Markdown
You can also use R Markdown to make
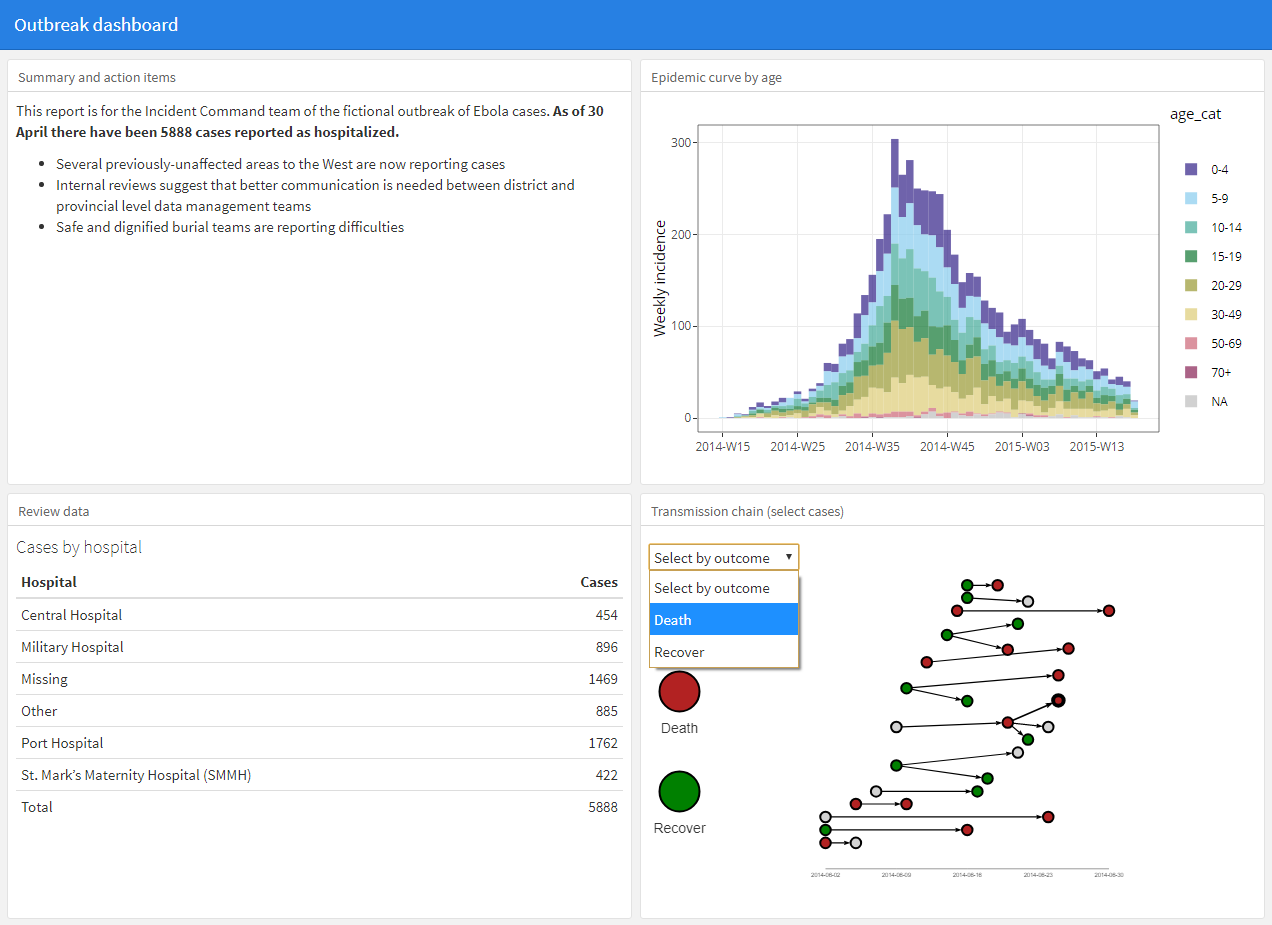
- Dashboards. A set of panels that organize code output, like this or this.
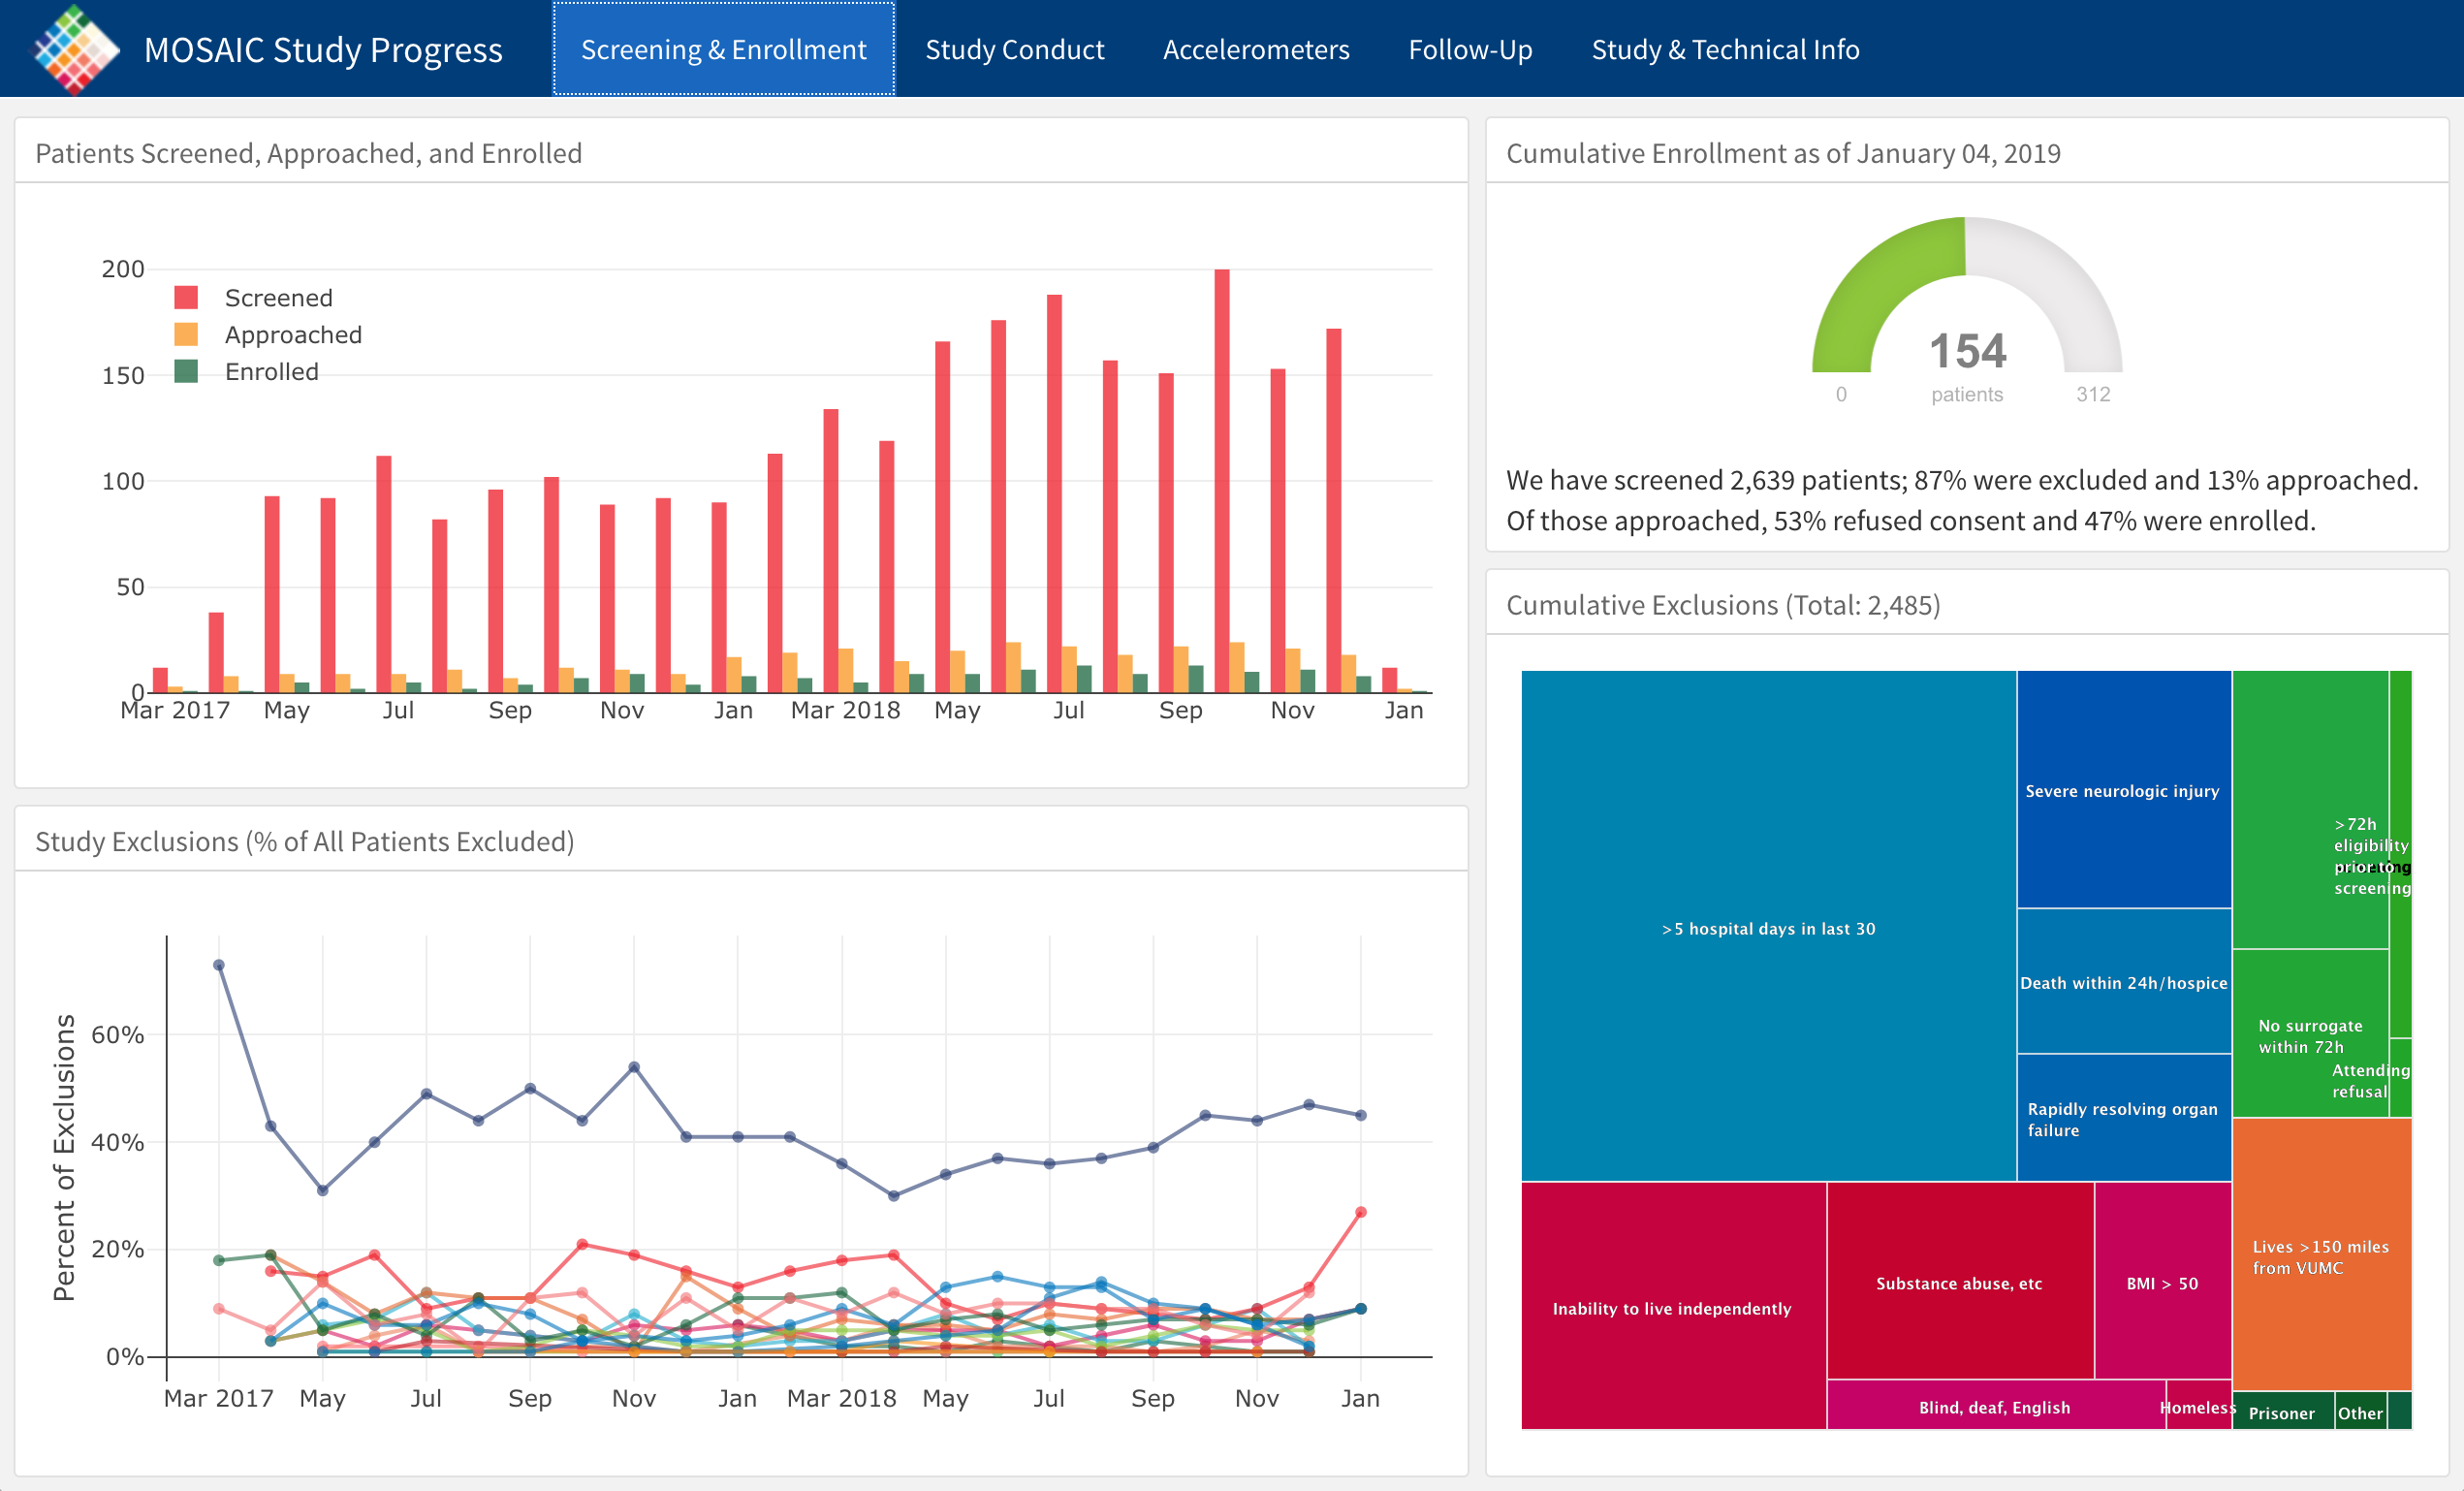
- Shiny! Interactive dashboards! Like these
- Websites. A set of interconnected HTML pages. I made these webpages in markdown.
- Books. The bookdown package lets you organize multiple Markdown documents into a single ‘book’, and then ‘publish’ the book – as a website or a pdf or other formats. Use this to write your novel!
- Of these options, which are you most interested in learning?
Workflow
Let’s take a moment to review proper workflow:
When you are beginning a new project (i.e. a research study, a class), ALWAYS do the following:
- Create a folder on your computer for the project. If you have a cloud storage system like Box or DropBox, use that - it makes your project highly portable.
- Give the folder a good, descriptive name. Project Folder is BAD, ADHD Research Study is better.
- Put any data and documents related to the project in this folder.
- Open RStudio.
- File -> New Project -> Existing Folder -> Navigate to the folder you just created and select it.
- Create an R Markdown Notebook for the project
- As you generate other files (figures, documents) for your project, keep them in this same directory.
Create an R Markdown Notebook for the project
Now that you know about R Markdown, let’s talk about how to use it optimally. When you start with a new notebook, do the following:
- Make the header. set up your R Notebook to produce the kind out output you need. Are you giving a presentation, writing a paper, of producing some other type of document?
- Make the setup code chunk. Start with the {r setup} chunk. Call the packages you know you will need here so they will always be available whenever you run your code. Also, set global settings for the other code chunks (i.e. Should the code be visible in the document or not?)
- Make a goals section. Start your analysis notebook with a section of text describing the goal(s) of the analysis. Knowing where you want to end up will inform how you get there. It’ll also help you and others understand what is happening
As you work through your analysis, stay organized and keep notes :
- Keep each code chunk as small as reasonably possible. Organize code chunks by purpose/function/goal.
- As you start each new section of code, give it a text header in R Markdown and write some text explaining what the code is supposed to do.
- Within the code, use comments to explain the function of specific lines of code or parts of a pipe or loop
- Make notes about code output, too – Use words to describe important aspects of graphs and statistical results.
- Write the following: “I hereby solemly pledge to follow the above steps whenever I start a new project in R. I take full personal responsibility for any problems arising from failing to do so.”
(Bonus) The Visual Tab
Now that you’ve learned how to do things the hard way, take a moment to check out the Visual Tab. Notice in the top left of your R Markdown Notebook it says Source and Visual. Click on Visual. Now you’ve changed to something more familiar - the visual tab is more like Word or Google Docs. Do the following in the Visual Tab:
- Make a level 1 header that says “I Did This in the Visual Tab”
- Insert a code chunk
- Make a table with 3 columns and 3 rows and the numbers 1-9 in the cells.
- Tell me which you like better - source or visual. Why?